Kahler Automation's Constellation has its own system for creating products in Terminal Management TMX. This process is divided into three steps: 1) creating the product; 2) assigning the product to a site or sites; and 3) creating the "Panel Bulk Product Settings" on the site.
Step 1: Creating the Product in Constellation
After logging into Constellation (Found Here), access to the "Products" page via the navigation section on the left hand side of the screen, then click on the "Create Product" button at the top right of this page to start creating a new product.

At the "Create a Product" screen, fill in the requested information.
"Product Name" is a required field; This is how the product will be seen in Terminal Management TMX.
It is always recommended to provide as accurate a density value as possible to Constellation, and by extension Terminal Management TMX, so that the system is better able to fulfill orders.
If density should be controlled per site, select "TMX" as the Density Source.
The "EPA Number" field is optional; it may be skipped unless there are specific requirements that mandate this information.
The "Ticket Notes" field is also optional. Notes added here can be displayed on printed tickets if they are configured to do so in Terminal Management TMX.

Once all information is filled in, click the "Create" button to just create the product in Constellation, or "Create and Assign" to also assign this product to a site or sites.
Step 2: Assigning a Product to Site(s)
Once a product has been created in Constellation it needs to be assigned to one or more sites to be used.
From the Products page of Constellation, click the "Actions" button and choose "Assign Sites" from the menu to access the "Select Sites for <Insert Product Name here>" screen. (If the "Create and Assign" button was pressed in the previous step, this screen should already be displayed.)

On on the "Select sites for <Insert Product Name here>" screen, check the box next to all sites where this product will be used and then press the "Assign" button.

Step 3: Creating the "Panel Bulk Product Settings" on the site
Once a product is assigned to a site, connect to Terminal Management TMX for the site or sites and set the "Panel Bulk Product Settings" so the product may be used in orders dispensed on the site.
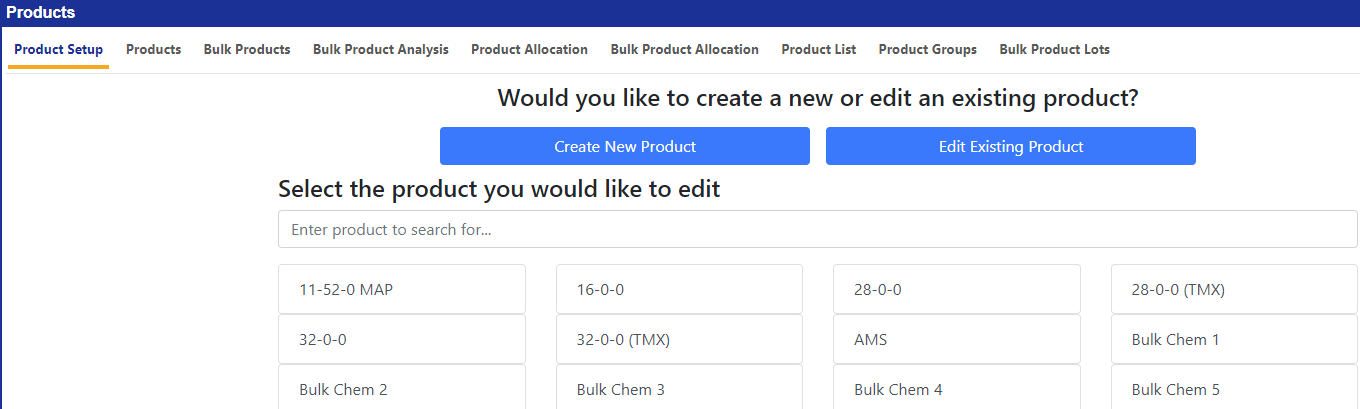
In Terminal Management TMX, click the Products link in the light blue menu bar, and then "Edit Existing Product" on the page displayed.

From this screen, select the newly assigned product from the list to configure it in Terminal Management TMX
Note: The search bar shown below the "Edit Existing Product" button can make finding the product much easier if Terminal Management TMX has a large number of products.
More information about the product configuration process can be found in the "Product Setup Tool" article starting in "Bulk Product Panel Settings", (link here)